📖 GitHub Pages
Introduction
GitHub Pages is an easy and free way to host your web projects online using a GitHub repository. It integrates tightly with Git, GitHub, and Visual Studio Code, making it a powerful tool for developers to publish projects, share code, or even host a portfolio.
Creating a GitHub Account
Before you can publish a site using GitHub Pages, you need a GitHub account. GitHub is an online service for managing repositories and collaborating on code projects. Follow these steps to create an account:
- Visit GitHub and click
Sign Up. - Fill in your email, username, and password. Follow the prompts to verify your email address.
- Once verified, log in to your account. You're now ready to start using GitHub.
Creating a Repository for GitHub Pages
A repository (repo) is a container for your project's files and folders. GitHub Pages uses the files in your repo to generate your website. Follow these steps to create a repo and prepare it for GitHub Pages:
Steps in Visual Studio Code
- Open the folder for your project in VS Code.
- Click the Source Control icon and select
Initialize Repository. - Stage and commit your files with an initial commit message (e.g.,
init commit). - Click the
Publish Branchbutton to create a repo on GitHub.
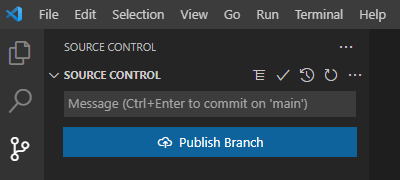
When you click the Publish Branch button, VS Code will ask if you want the repository on GitHub to be public or private. It's just like it sounds. Public will make your repository available for anyone who finds it on GitHub though there are copyright rules that govern the use of software. If you choose private, your code will not be available unless you specifically share it with someone.
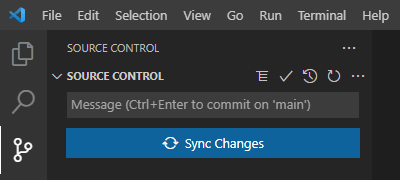
Once your repo has been pushed to GitHub, the button changes to 'Sync Changes' for future GitHub updates.
Setting Up GitHub Pages
Once your repository is ready, follow these steps to enable GitHub Pages and publish your website.
Steps to Enable GitHub Pages
- Go to your GitHub repository and click
Settings. - Scroll down to the
Pagessection in the left menu. - Select a branch (e.g.,
main) as the source for your site files. - Save your changes. A link to your live site will appear. (This could take a few minutes.)
Checking Your Site
After enabling GitHub Pages, your site will be live within a few minutes. You must refresh your GitHub repo page to see the updated GitHub Pages link. Visit the provided link to ensure your site is working as expected. If changes don't appear immediately, wait a few minutes and refresh the page again.
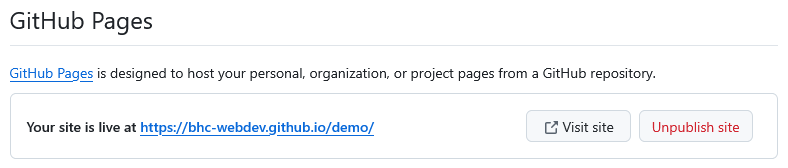
See an example site here: Example GitHub Pages Site.
Next Steps
Now that you've successfully created your GitHub account, set up a repository, and published your first GitHub Pages site, you're ready to explore more advanced GitHub features like cloning, branching, and managing pull requests. These topics will be covered in future lessons.
References
Last updated: August 13, 2025 at 1:57 PM