📖 Azure Labs Virtual Machine (VM) Setup
Dallas College has provided the IT students with a virtual machine for use in completing programming assignments. We will be using the virtual environment for our web development projects. You should note that this is a different tool than the Virtual Desktop provided by Dallas College that is used for many other classes. The VDI client found on the classroom computers on campus is a shared environment with pre-installed software. The virtual machines we will be using are an instance of a Windows 11 computer with only basic software installed. We will need to install and configure the software for our own uses.
Signing In to Dallas College
In order to access many of these resources, you must be able to login to Dallas College using your student ID and password. If you don't know your student ID or don't know how to login to Dallas College, please review the article Log in to eConnect. This should help you get into the Dallas College provided student resources. One of the first sites you should visit is the My Dallas College page. This page provides links to many daily resources you will use as a student at Dallas College. This is one you should bookmark.
Accessing the Virtual Machine
This article is about using the virtual machine from Azure Labs. You will be required to login to the Azure Labs to access the virtual machine. Only students enrolled in specific courses at Dallas College will have this tool available. You will find the login by going to https://labs.azure.com/virtualmachines in your browser. This link will redirect to a Microsoft login. Use your Dallas College SSO credentials to login to your Dallas College account.
This is a 3 step process.
- Go to Azure Labs for Dallas College to start an instance of your Azure Labs Virtual Machine.
- Open a connection to the VM using the connection file download from Azure Labs.
- When finished with your work session, stop the Azure Labs instance.
Start The Virtual Machine (VM)
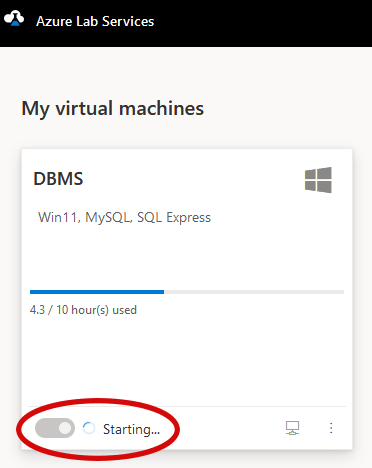
Once you have signed into your account, you should see a virtual machine control panel. This will allow you to start and launch the virtual machine.
Click the toggle button to start the VM. Starting the VM from a stopped status can take a few minutes. You must wait for the server to start your instance and load all the dependencies.

Starting the VM from a stopped status can take a few minutes. You must wait for the server to start your instance and load all the dependencies.
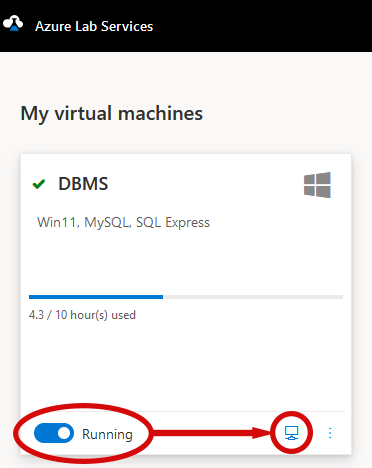
Once the VM shows a Running status, you can connect to the VM. Click the small computer icon in the VM card. This will offer a file download. Save the file to your computer.
Making a Connection to the VM
Once the file is saved, you can now launch the VM on your computer by clicking the file download. This will begin launching your connection instance.
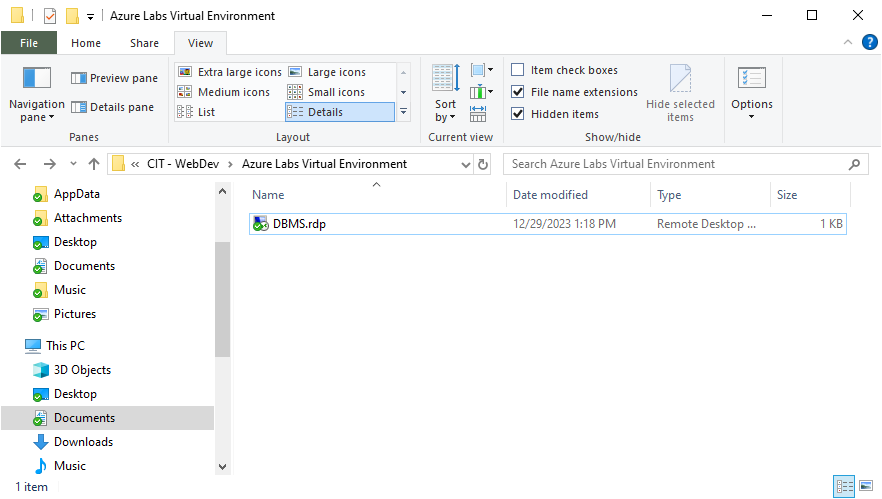
NOTE: Once you have downloaded the Azure Labs file, you do not need to download it again. You can simply run the file from your file system. You might want to move this file to a convenient location on your computer. Remember, you can only connect to a running instance of the VM.
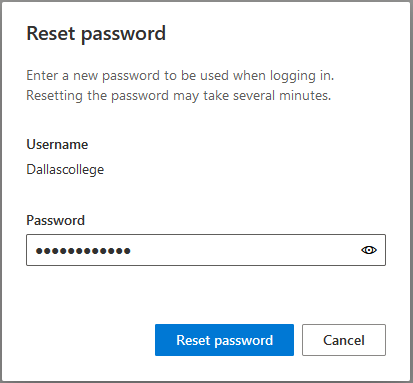
The first time you connect to the VM you will be prompted to set a password. You can use whatever you choose, but I would recommend you use your Dallas College password.
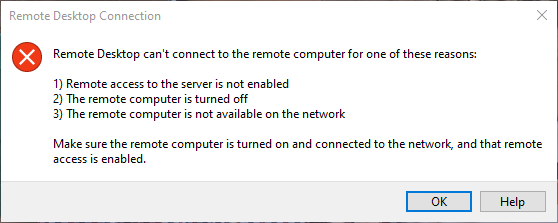
If you receive a connection error message, it is probably because the VM is not currently running. Go to the https://labs.azure.com/virtualmachines link to start the VM. Once it is running, you can launch the connection script.
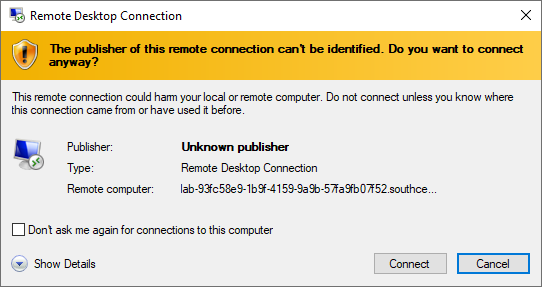
Your computer may ask you to give permission for the file to run on your computer. This is required to access the VM.
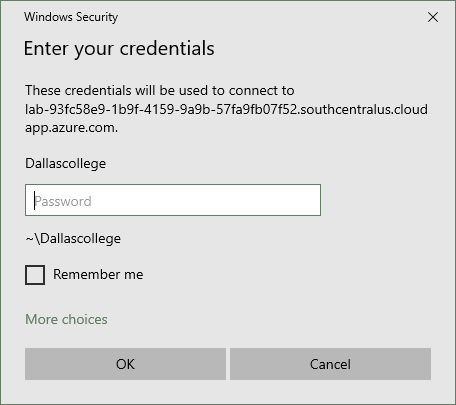
You will be asked for your Dallas College password to authenticate your account.
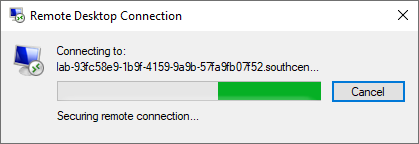
Once your credentials are authenticated, the VM interface with a Windows 11 computer setup will open.
Timed Access to the VM
Please note that you will have a limited number of hours to work on the VM connection. You should only connect when you intend to work on your class projects and always remember to disconnect when you are finished. You do not want to run out of time on your account before you have finished the class. The time used/available is shown on the connection card at Azure Virtual Labs.
This means you must go back to the Azure Labs website to stop the VM. Click the Running button to stop the VM. Wait for it to stop before leaving the site.